
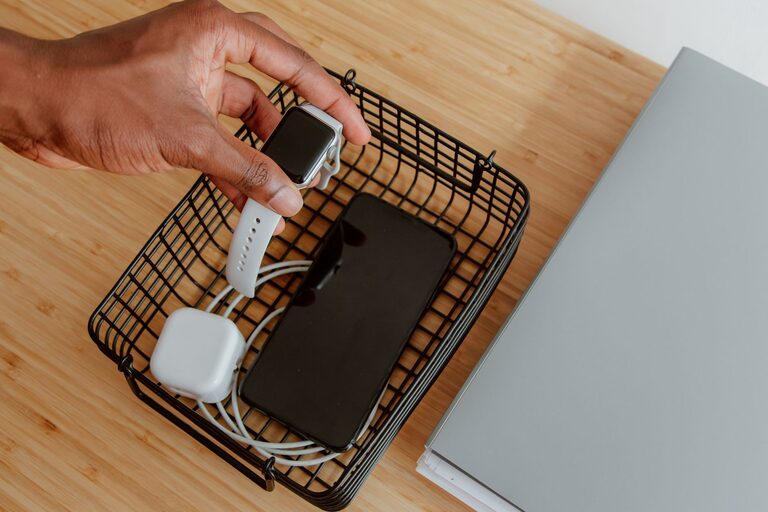
In today’s world, we rely on multiple electronic devices daily—from smartphones and tablets to laptops and wireless earbuds. Having a dedicated charging station not only keeps your gadgets powered up but also helps reduce clutter and keeps cords organized. Setting up a charging station is easier than you might think, and it can make daily charging a seamless routine. Here’s a step-by-step guide to help you create a functional and tidy charging station at home or in your workspace.
Why Set Up a Charging Station?
Before diving into the setup process, it’s helpful to understand the benefits of having a dedicated charging area:
– Organization: No more tangled cables or searching for chargers.
– Efficiency: Quickly charge multiple devices in one place.
– Space-saving: Use a compact area instead of scattering chargers around.
– Aesthetics: Keep your space looking neat and clutter-free.
Step 1: Choose the Right Location
The first step is to find a suitable spot for your charging station. Consider the following:
– Accessibility: Pick a location that is easy to reach daily, such as a desk, bedside table, or a shelf in a common area.
– Power availability: Ensure there are enough power outlets nearby to plug in chargers or power strips.
– Ventilation: Devices can get warm while charging, so choose a spot with good airflow.
Step 2: Gather Your Supplies
To create a charging station, you’ll need a few basic items:
– Charging device(s): USB charging hubs, power strips, or wireless chargers.
– Charging cables: Make sure you have the appropriate cables for your devices (USB-C, Lightning, Micro USB).
– Organization tools: Cable clips, velcro straps, or cable sleeves can help manage cords.
– Container or stand: A small box, tray, or a multi-device charging dock can hold your gadgets.
– Labeling materials (optional): To identify which cable belongs to which device.
Step 3: Select the Charging Equipment
Multi-port USB Chargers
Instead of using several wall adapters, opt for a multi-port USB charger. These devices allow you to charge multiple USB-powered devices simultaneously from a single outlet, reducing clutter.
Wireless Charging Pads
For devices that support wireless charging, consider adding a wireless charging pad or stand. Wireless chargers cut down on tangled cables and make it easier to place and grab devices quickly.
Power Strips with Surge Protection
If your charging station will include devices that require standard plugs—like laptops—choose a power strip with surge protection to safeguard your electronics.
Step 4: Organize and Route the Cables
Once you have your chargers and cables, it’s time to manage the cords effectively.
– Measure cable length: Use only the amount of cable you need to avoid excess slack.
– Use cable clips or holders: Attach these to the edge of the desk or inside a container to keep cables in place.
– Bundle cables together: Use velcro straps or cable sleeves to group cables.
– Label cables: This is especially helpful if you have many devices charging at once.
Step 5: Arrange the Devices
Decide how you want your devices to sit while charging:
– Use a charging dock or stand: This keeps devices upright and easy to access.
– Place devices in a container or tray: Helps contain small items and prevents them from sliding around.
– Keep frequently used devices at the front: Makes it easier to grab them quickly.
Step 6: Maintain Safety
Charging many devices in one spot requires attention to safety:
– Avoid overloading outlets: Check the power ratings of your chargers and outlets.
– Keep devices on hard, flat surfaces: Prevent overheating by avoiding soft surfaces like beds or couches.
– Unplug chargers when not in use: This helps save energy and reduce fire risks.
– Inspect cables regularly: Replace damaged or frayed cables immediately.
Tips for Optimal Charging Station Use
– Keep the area clean: Dust can build up and affect device performance.
– Rotate charging cables: Avoid wearing out one cable by using several interchangeably.
– Customize the station: Add hooks for headphones or small shelves for accessories.
– Use a USB hub with individual switches: This allows turning off charging ports you’re not using.
Example Charging Station Setup
Imagine a small corner of your desk with a multi-port USB charger plugged into a surge-protected power strip. Cables neatly bundled and clipped along the desk edge, with smartphones and tablets resting on a charging stand. Wireless earbuds charge on their pad next to the stand, and all cords are labeled for quick identification. This setup keeps your devices organized, fully charged, and ready to use.
Conclusion
Creating a charging station is a practical way to keep your electronic devices powered and organized. By choosing the right location, using multi-port chargers, managing cables neatly, and keeping safety in mind, you can enjoy a clutter-free and efficient charging area. With a little planning, your new charging station will become an indispensable part of your daily routine.
